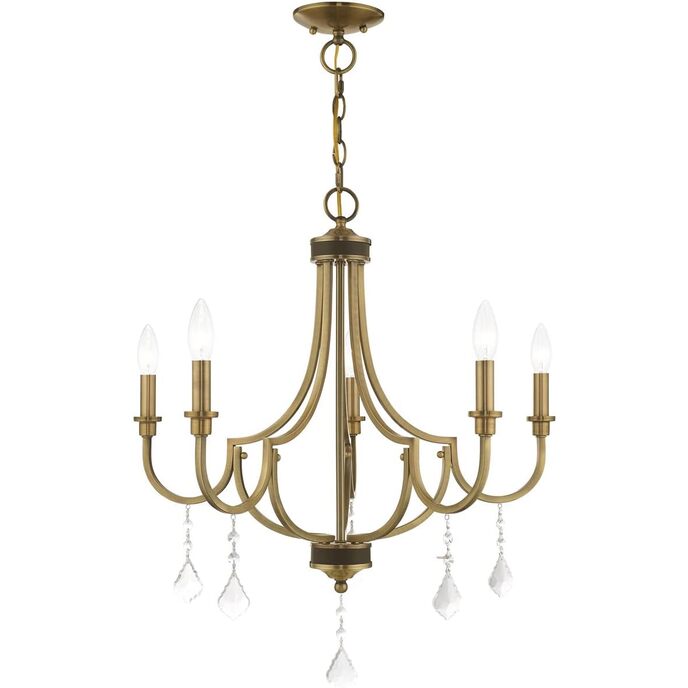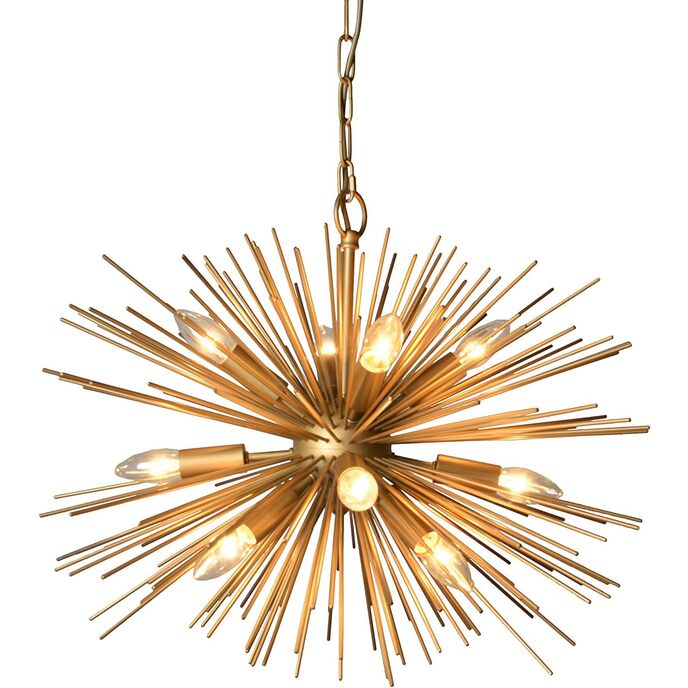

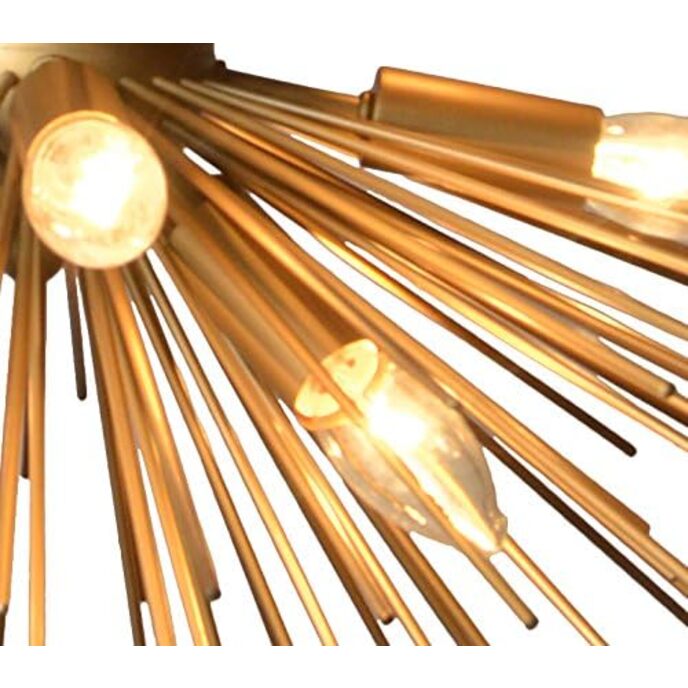

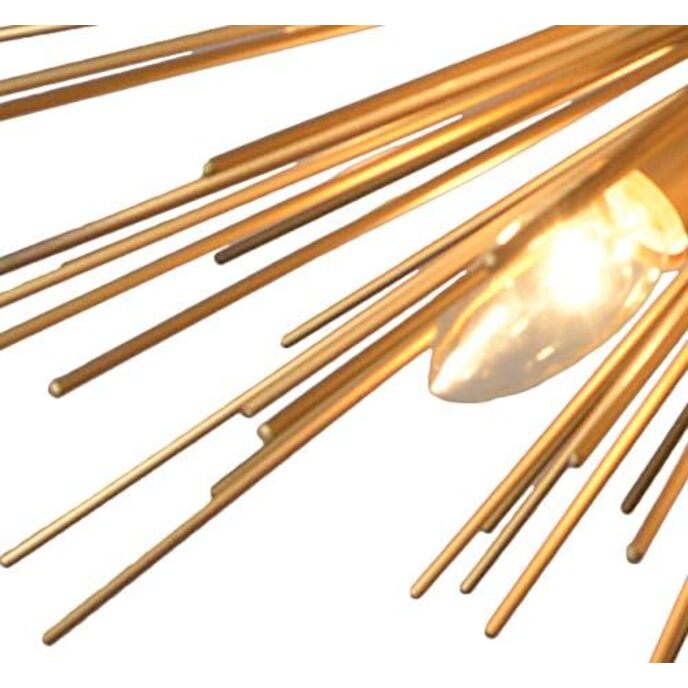
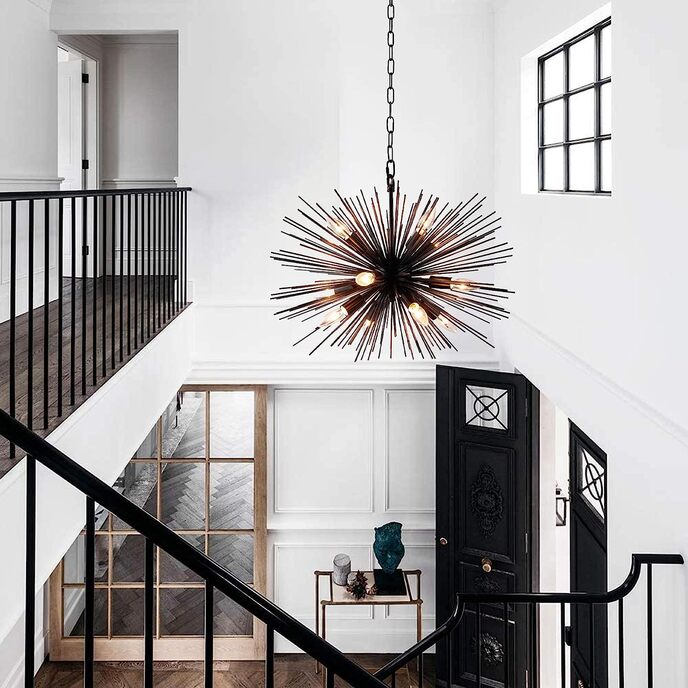
12 Ljuskrona i guldfinish Egenskaper: Ljuskrona Typ: Sputnik Ljuskrona Spänning (Volt (V)): 120 Lampa Watt: 60 Totalt lumen: 9600 Lamptyp: Glödlampa Bas: kandelaberbas E12Dimbar; Kabelansluten installationstjänst Godkänd Installation i lutande tak kompatibel CE-certifierad; UL och cUL listade39,4 tum Kedja ingår1 års begränsad tillverkargaranti gäller för produkter köpta från Y-Decor. Garantin täcker eventuella defekter i material eller utförande vid normal användning under garantiperioden. Y-Decor kan reparera eller byta ut produkter eller delar av produkten som visar sig vara defekta. Garantin täcker inte några problem som orsakats av felaktigt underhåll, skador till följd av naturkatastrofer, stöld eller förlust av produkten. De digitala bilderna vi visar har så exakta färger som möjligt. Men på grund av skillnader i datorskärmar kan vi inte ansvara för variationer i färg mellan den faktiska produkten och din skärm.
EAN: 0815674027495
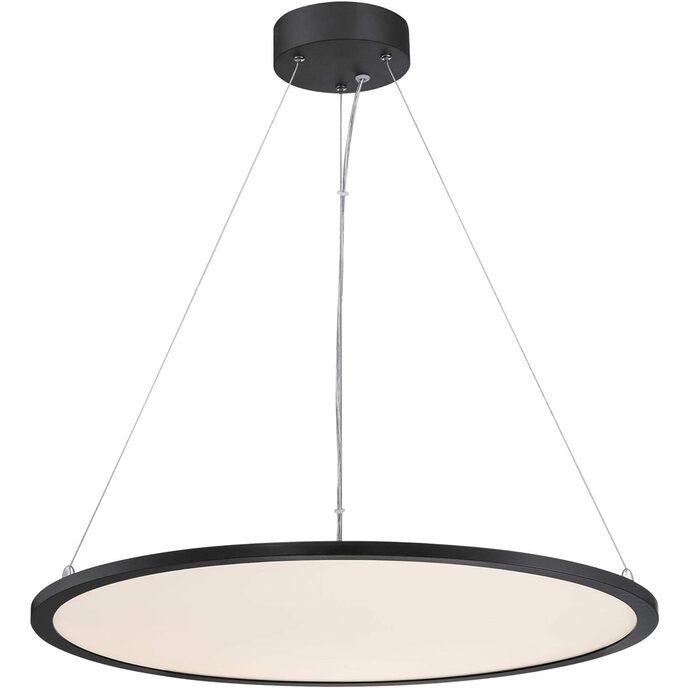
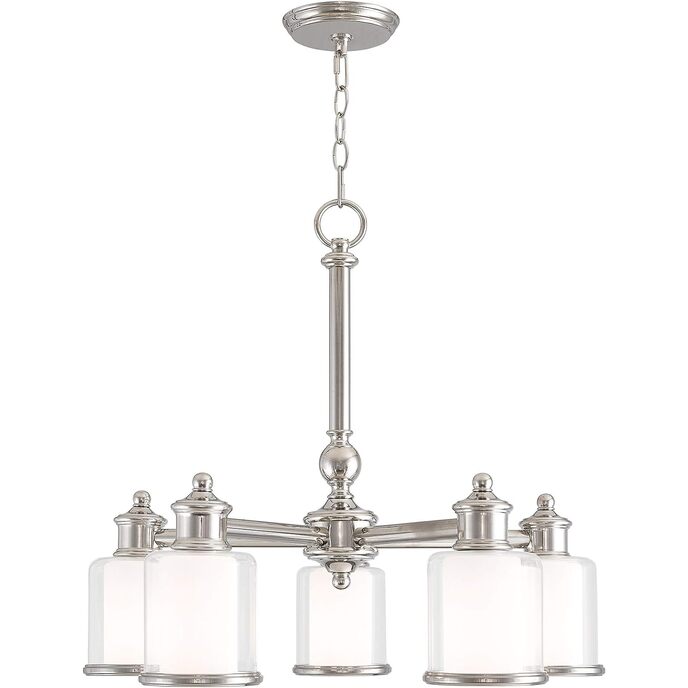
Kategorier Verkyg & hemförbättring, Belysning & takfläktar, Taklampor, Kandelare,
| Assembly required | Yes |
| Batteries required | No |
| Brand | AA Warehousing |
| Bulb Base | E12 |
| Color | Gold |
| Control Method | App |
| Customer Reviews | 4.4 4.4 out of 5 stars 176 ratings 4.4 out of 5 stars |
| Finish Type | Gold,Gold Finish |
| Finish types | Gold,Gold Finish |
| Indoor/Outdoor Usage | Indoor |
| Is Discontinued By Manufacturer | No |
| Item model number | LZ3349-12 |
| Item Weight | 8 Pounds |
| Light fixture form | Chandelier |
| Light Source Type | Incandescent, LED |
| Manufacturer | AA Warehousing |
| Material | Steel |
| Number of Items | 1 |
| Number of Light Sources | 12 |
| Power Source | AC |
| Product Dimensions | 24 x 24 x 15.8 inches |
| Special Feature | Dimmable |
| Specific instructions for use | Decorative lighting for indoor use |
| Specifications | CE, UL, cUL |
| Style | Modern |
| Voltage | 120 Volts |
| Warranty Description | One year limited manufacturer warranty applies to products purchased from aa warehousing. Warranty covers any defects in material or workmanship under normal use during the warranty period. Aa warehousing may repair or replace products or parts of the product that prove defective. Warranty does not cover any problem caused by improper maintenance, damage resulting from natural disasters, theft or loss of the product. |
| Wattage | 720 watts |