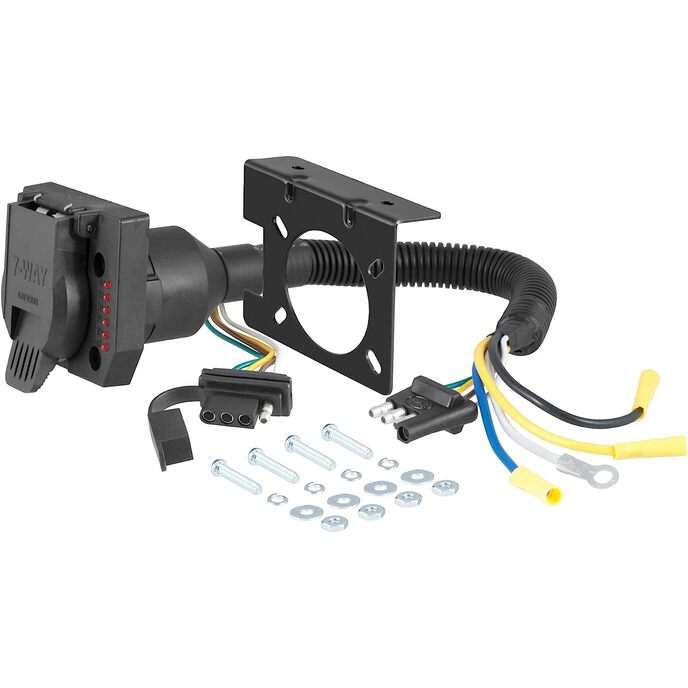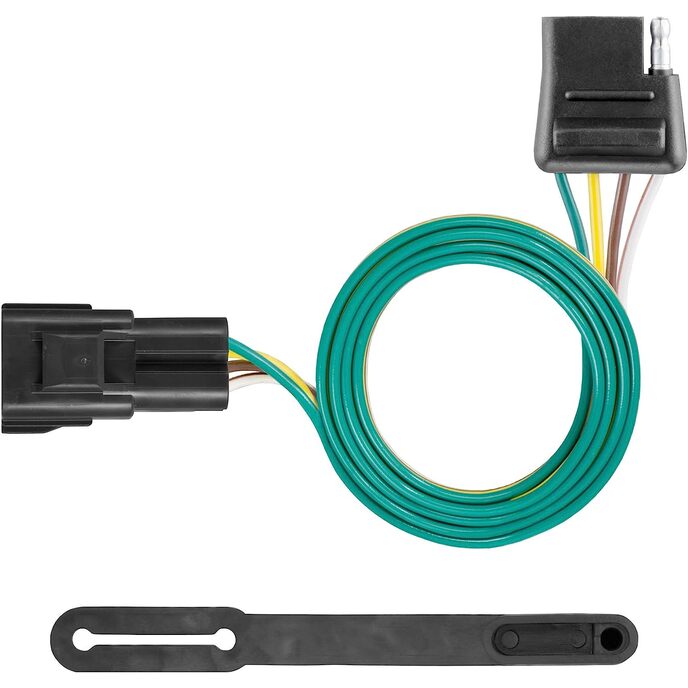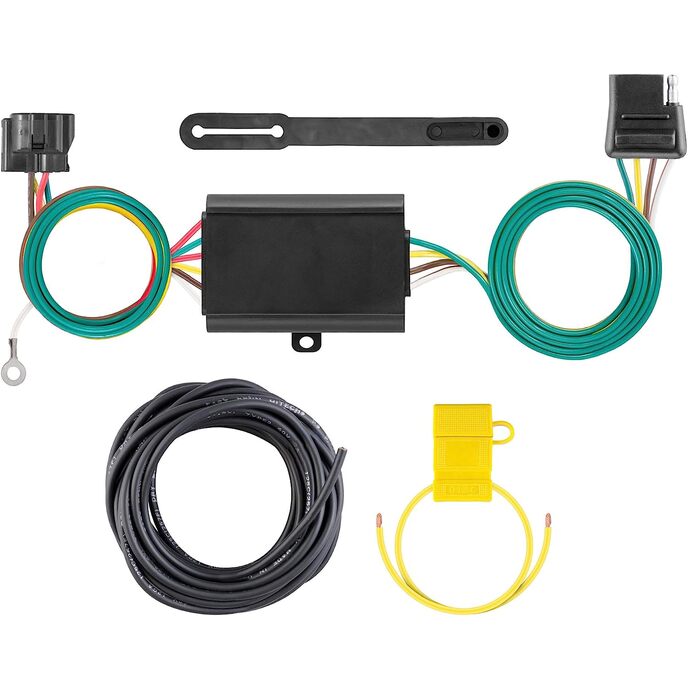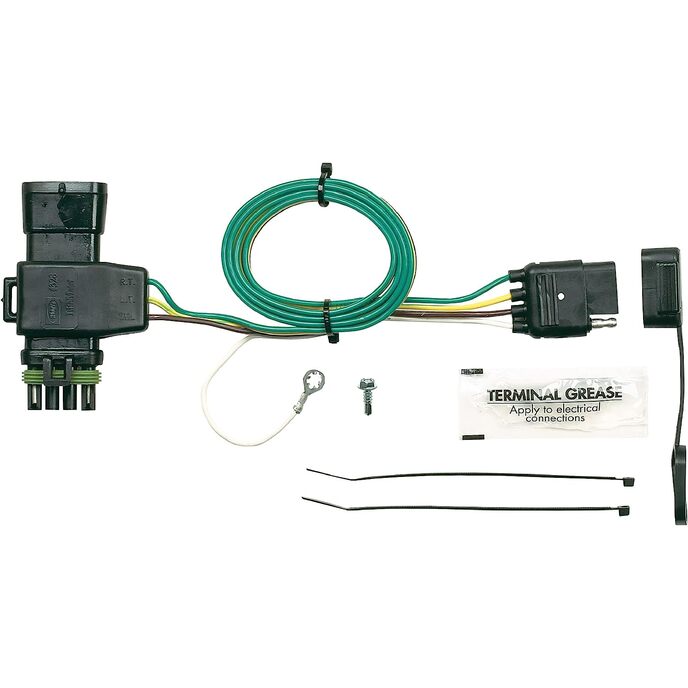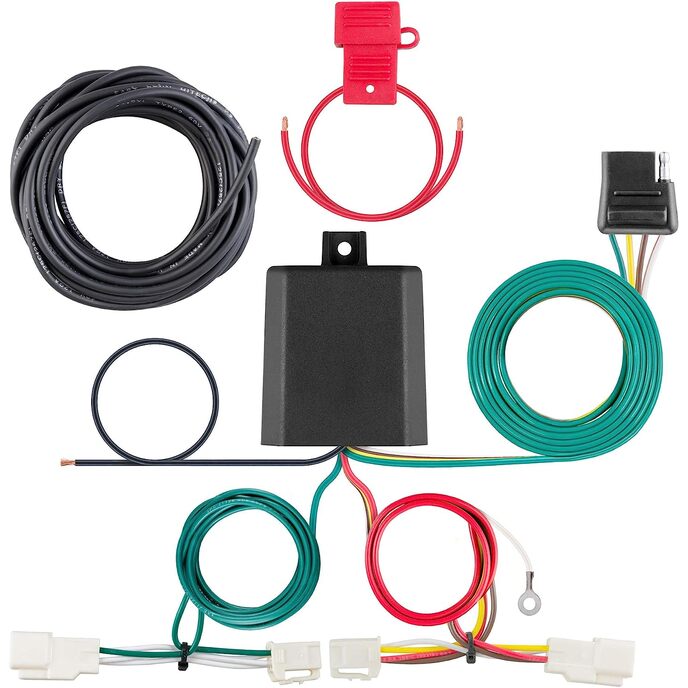


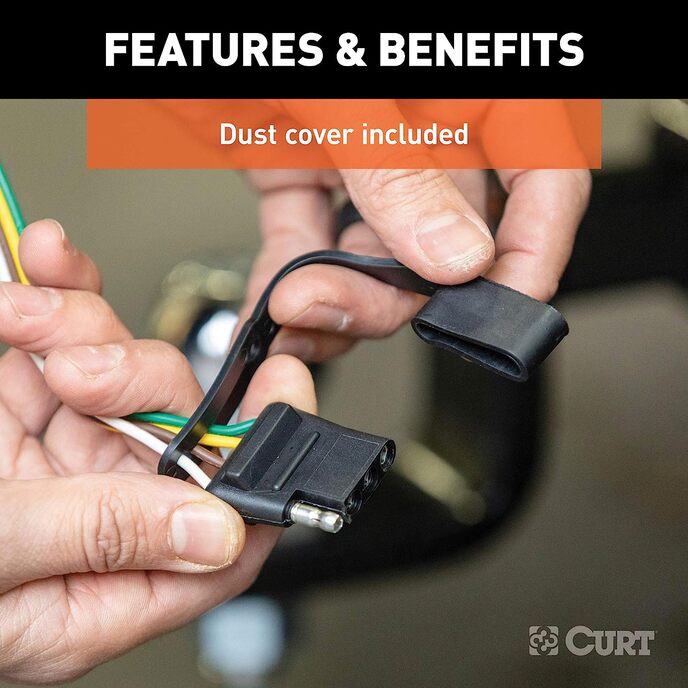
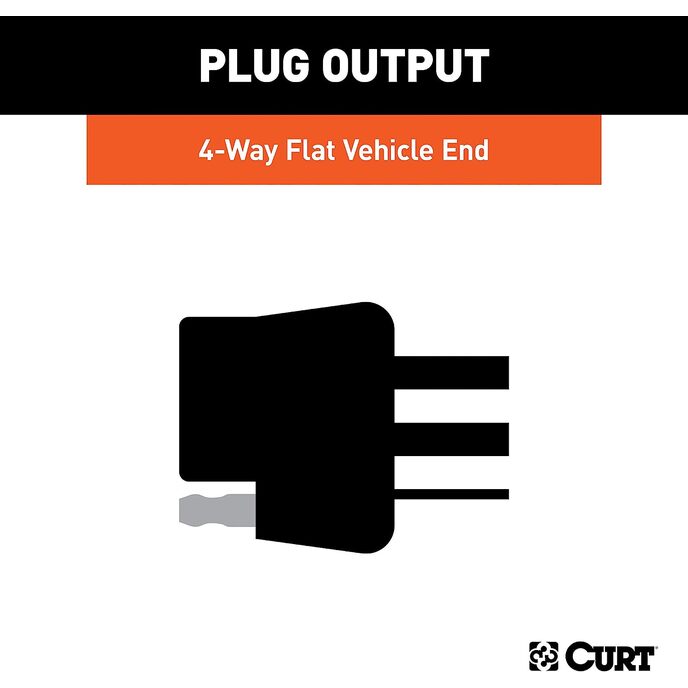


DAMMSKYDD. För att främja långvarig användning och väderbeständighet, kommer denna 4-poliga släpvagnsbelysningskabelhärva med ett dammskydd av gummi. Den passar lätt på den platta 4-vägskontakten när den inte används, vilket skyddar den mot utomhuselementen. PÅLITLIG KRAFT. Denna 4-vägs släpvagnskabelstamm är byggd med ytmonteringsteknik. Denna typ av kretsar genererar mindre värme, optimal ljusintensitet och hållbar prestanda. FORDONSSPECIFIK. Detta eftermarknadskabelnät för fordon och släp är designat för utvalda år av Toyota Avalon och RAV4. STANDARDKONTAKT. Denna plug-in 4-platta släpvagnsledning kan användas för att ansluta släpvagnsbakljus, bromssignalljus och blinkers. 4-vägs släpvagnsljusledningar är populära på en mängd olika släpvagnar, vilket ger mångsidiga dragmöjligheter för ditt fordon. LÄTT ATT INSTALLERA. Ingen skärning! Ingen skarvning! Denna släpvagnskabelsats ansluts till befintliga fabriksledningar på ditt fordon och utrustar den med en standard, bakre 4-polig släpvagnskabelkontakt för att koppla in och dra en släpvagn.
EAN: 0612314563500
Kategorier Automobiler, Exteriöra Tillbehör, Telfer & Vinschar, Hitch Tillbehör, Wiring,
| Brand | CURT |
| Brand | CURT |
| Customer Reviews | 4.6 4.6 out of 5 stars 703 ratings 4.6 out of 5 stars |
| Exterior | Painted |
| Is Discontinued By Manufacturer | No |
| Item Dimensions LxWxH | 9 x 6 x 3 inches |
| Item model number | 56350 |
| Item Weight | 1.95 Pounds |
| Item Weight | 1.95 pounds |
| Manufacturer | CURT |
| Manufacturer Part Number | 56350 |
| Material | Rubber |
| Model | Custom Wiring |
| OEM Part Number | 56350 |
| Product Dimensions | 9 x 6 x 3 inches |