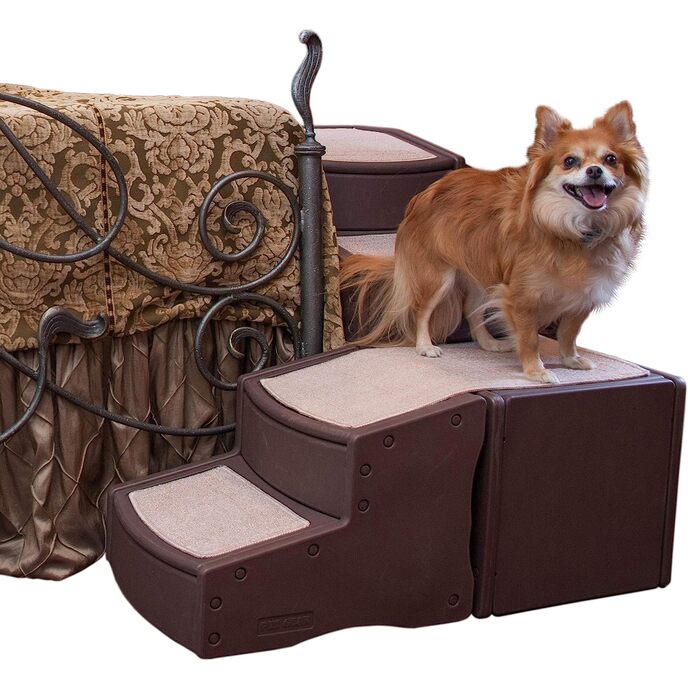
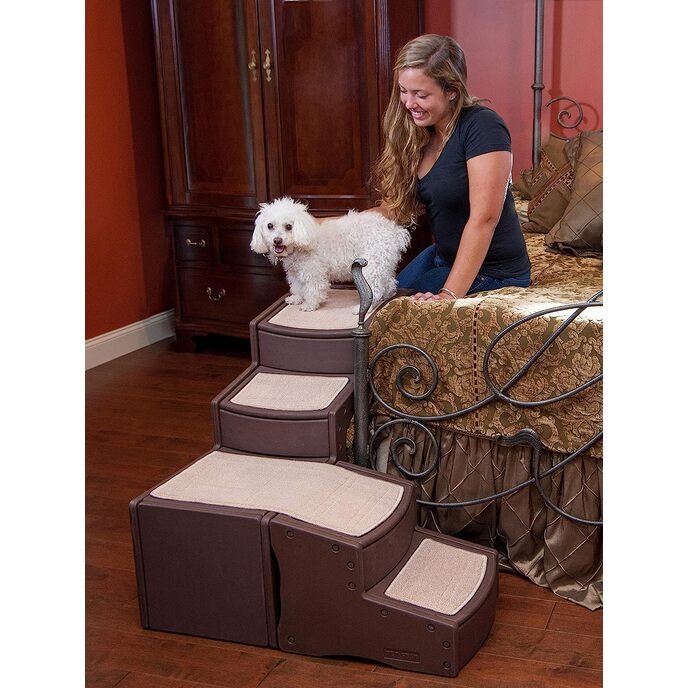
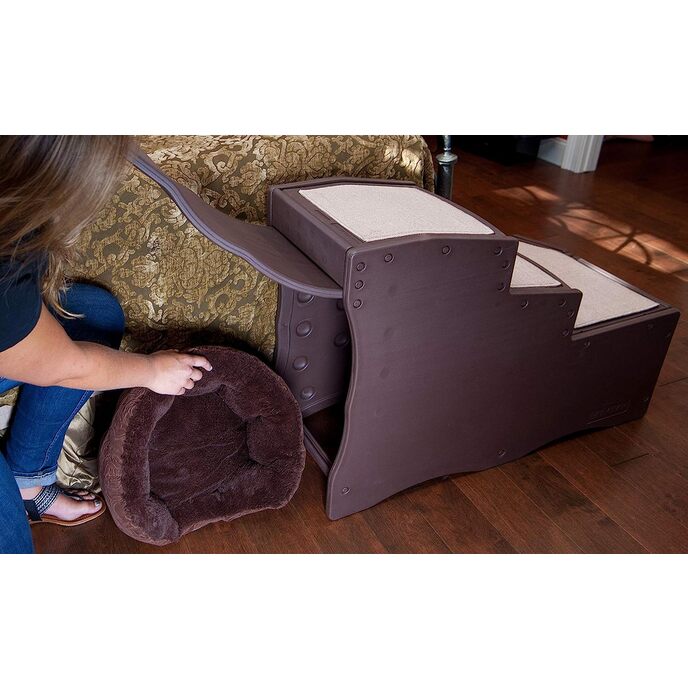
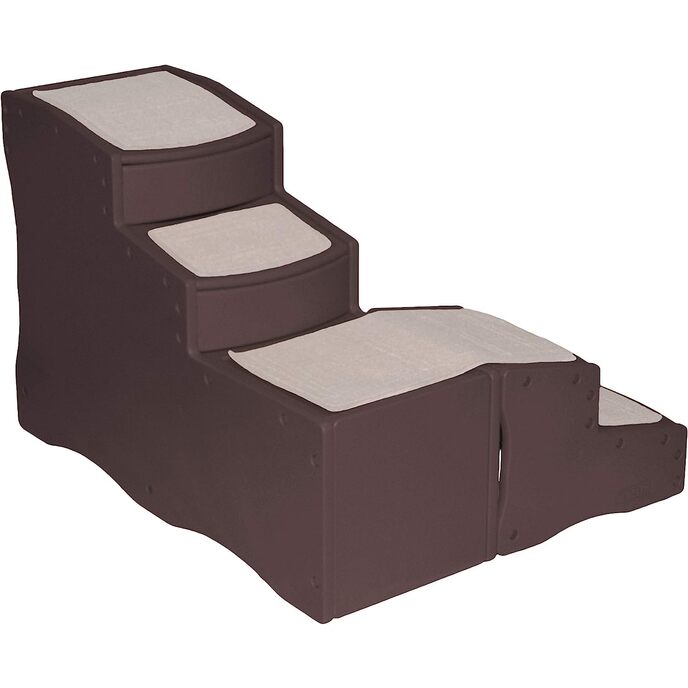
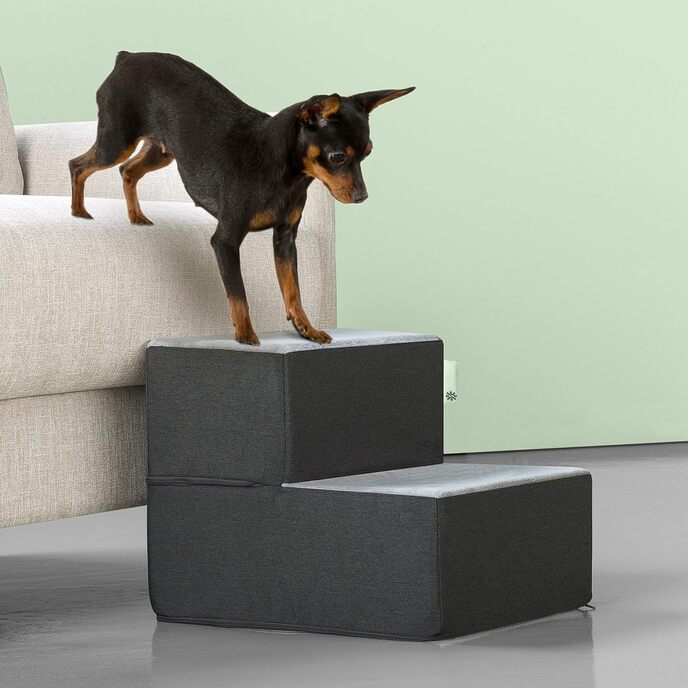
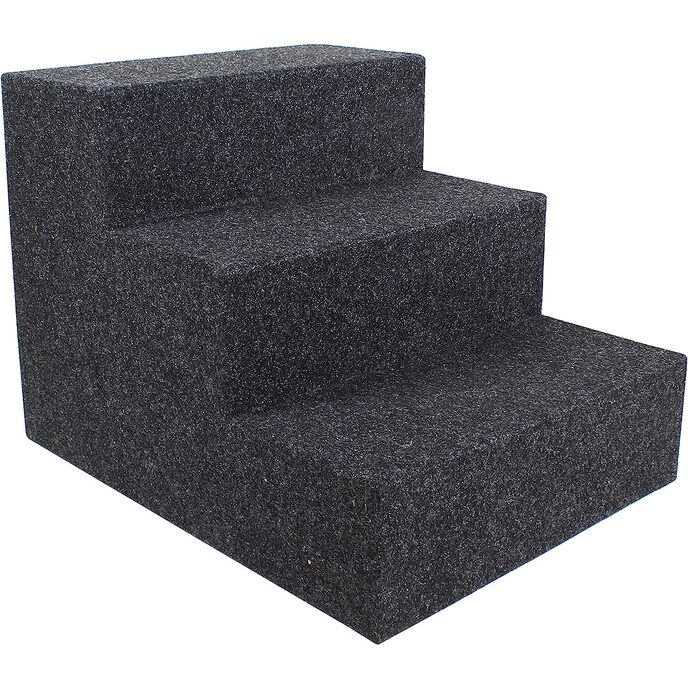
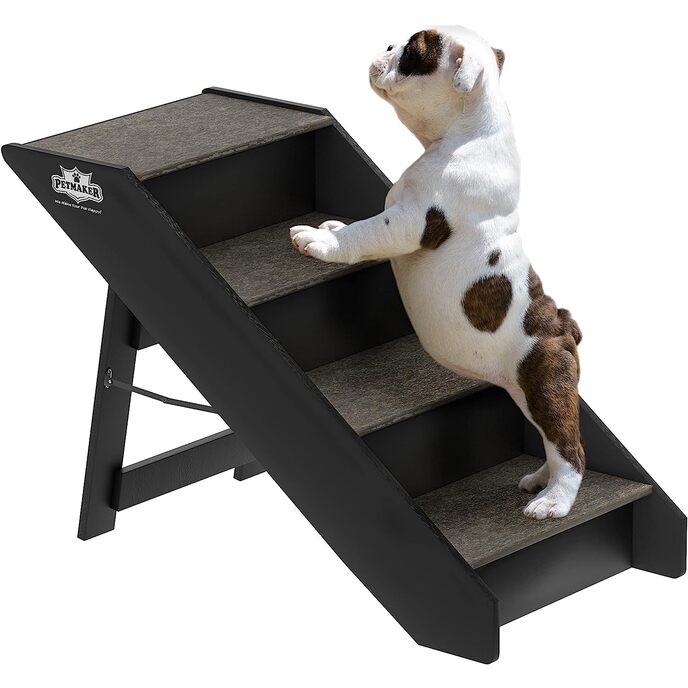
I researched various steps long and hard before deciding on these and am so happy I chose them! I have an aging Border Terrier who lately, has found it more difficult to jump up and down from our bed. Wanting to protect his joints, and keep him from those nasty falls he has been having while attempting the leap to the bed or his favorite resting spot in front of the window, I decided to bite the bullet and buy these. I must admit, I found them to be a bit pricey initially but figured, if it protects my baby from pain and saves me on vet bills later, then why not invest in them? That being said, let's talk about the steps! I found assembly to be difficult for the first 30 minutes. Once I got the hang of it, I felt really silly that it had taken me that long because I could have had the steps completely assembled in probably 15 or 20 minutes flat had the directions not left out one important detail. This made things more complicated than it needed to be. I will say that you should DEFINITELY start the assembly by lying all the pieces out on the floor beforehand, like the instructions suggest and familiarize yourself with the letters on the pieces. Once you do that, the assembly process becomes a "snap," literally. The thing that threw me off was that the pieces did not seem to line up correctly and made it look as it there was a huge gap in the step. This also threw off the fit of the next piece. What should have been mentioned up front in the directions was this little nugget: ORIENTATION and LETTER COORDINATION! For instance, most pieces, such as the risers for example, are marked A on one end and B on the other end of that same piece. As you are connecting each piece to the next, make sure the letters match up. Each peg of a piece that you snap into a hole, should have the same letter corresponding to it at the entry point of the hole it is being snapped into. If the letters don't match, then assembly will become much harder than needed. If you lay all your pieces out before hand, use the "matching letters" as a guide that you are assembling correctly and follow the instructions step by step, you should be just fine putting it together solo in no time. From unboxing to assembly, it took me about 30 minutes to assemble the 2 step portion and then only about 10 minutes to assemble the larger, 3 step portion, as by then, I had figured out my error and gotten the hang of it. The end result, a set of very sturdy steps that were well worth the effort! My dog was leery of use initially but after a few bribes with treats each trip up and down the steps, he figured it out in about 10 minutes. He was still timid about coming down the steps for the first two days and would jump off the bed the regular way half the time. But by the end of day two, I started to noticed that he was making the descent on his own using each step and at a normal pace...no more jumping to (and missing) or falling from the bed at all. This 11 year old senior "pup" is now one happy camper! He can get to his favorite places without injury or sitting at the foot of the bed, begging his mom for a lift! I say take the plunge and invest because let's face it, when our fur babies are happy, we're happy! :-)