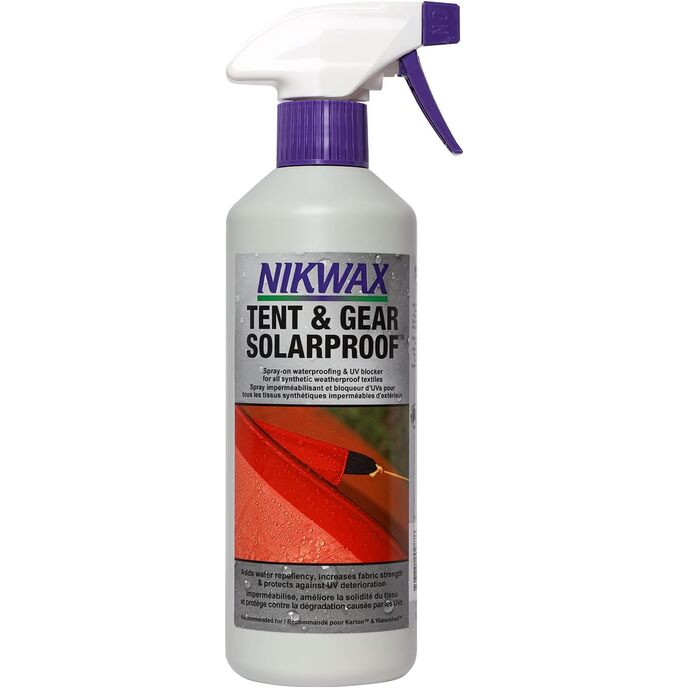
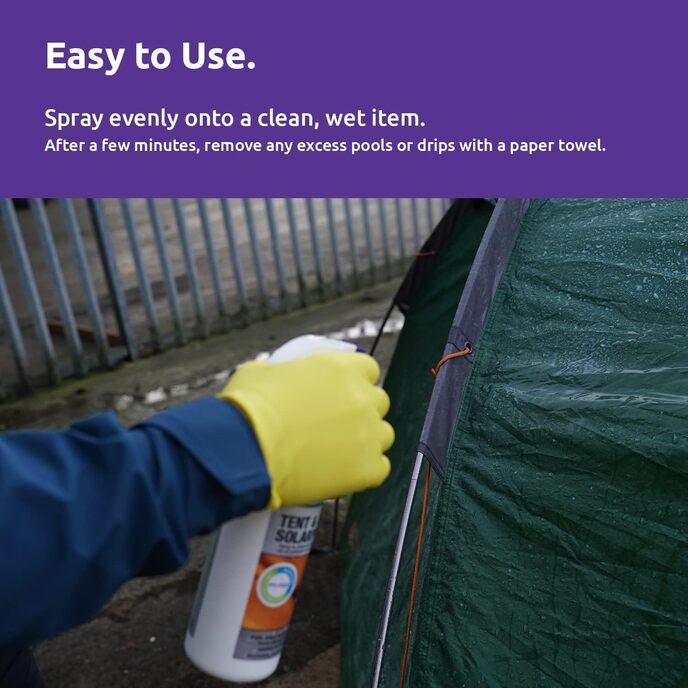
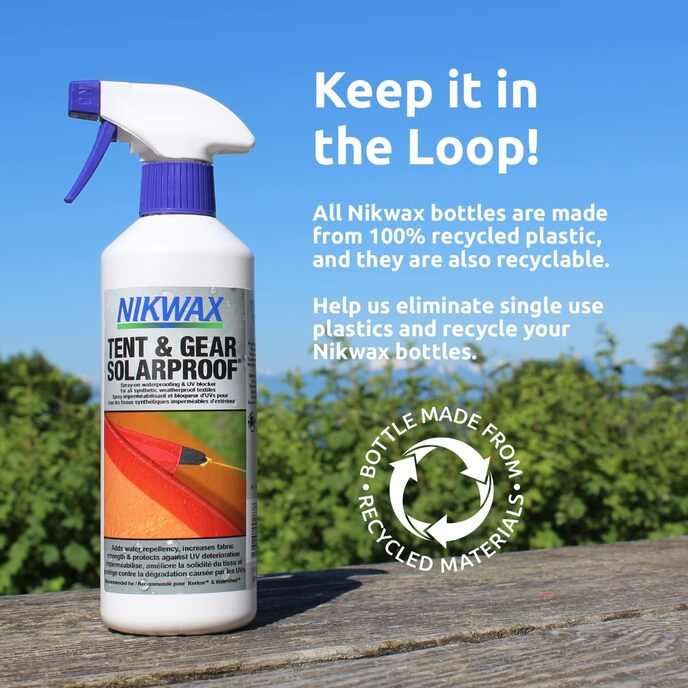
The media could not be loaded. If you have an older "mid-priced" tent (like an REI half dome) - something that cost you between $150 and $300 and its over 5 years old, chances are that the three waterproofing elements it uses are compromised. This product is ONE of the things you need to bring back that waterproofness. And it works very well if you follow the complete process. As you can see in my video, I simulated a very strong rain storm for about 45 minutes with heavy rain and occasional sideways gusts (as usually happens in a big storm). After spraying the tent HARD for 45 minutes, I climbed inside and inspected the interior. I did not find a single drop anywhere inside the tent, and running my hands along the inside surface of the rain fly I could not detect any seepage, including along seams. There did seem to be some darkening of the rain fly fabric (as you can see in the photos) which indicates saturation of the nylon fabric, but the PU coating on the inside of the fly did its job and kept the interior dry. With a Saturday of effort, I totally restored my tent. Background: Mid-grade tents are mostly made of nylon fabric with three waterproofing steps - on the inside of the fabric there is a sprayed-on polyurethane ("PU") layer and on the outside there is a "DWR" coating (Durable Water Repellent). Think of DWR as like a "ScotchGuard" water repellent that is the first defense against water, and then the PU layer is the "block" against actual intrusion of water. The two act together to give a tent its ability to withstand rain without you getting wet inside. Where layers of fabric are sewn together, there is usually a third element - a PU "seam tape" that is laid on after the sewing process. (THIS IS WHERE MOST TENTS LEAK AFTER A FEW YEARS OF USE!) If you have an old tent and recently discovered that it is no longer waterproof, you have to address all of three of these issues - the failed seam tape, the PU coating on the inside and the DWR coating on the outside. But be careful - not ALL parts of a tent are coated with water repellents. In particular a double-walled tent like the REI Half Dome, only the absolute bottom few inches of the inner tent are coated. The rest is a lightweight breathable fabric that is essential to prevent condensation inside the tent. On the outside is a "rain fly" and it needs to be COMPLETELY waterproof. To waterproof the tent, follow these three steps. Make sure you WASH your tent (inside and out) with mild soap and water and let it dry before you start. Also, it is very helpful to pitch the inner tent and work on that first, THEN pitch the fly INSIDE OUT over the inner tent so that you can then work on that.. Plan on spending the better part of a weekend on this project in fair weather. Also, I HIGHLY recommend that you wear long sleeved shirt and pants, a cap, eye protection, and a respirator. This stuff is sticky and you do NOT want it in your lungs and on your skin! Don't do it near cars and don't do it on a windy day. Step 1. Inspect all seams on the rain fly and check to see if they are peeling or degraded. If they are, you will need to remove the peeling/degraded material with isopropyl alcohol, a fingernail, and some cloth towels. Often there will be interior parts that are glued on with this PU tape and they will come loose - clean them and mark their locations. Once everything is cleaned up, you need to use something like SeamGrip https://smile.amazon.com/Gear-Repair-Adhesive-Sealant-Ounce/dp/B01HEFRN44 to treat all the seams and also to re-glue the interior attachments that came off. Let dry for about 4 hours Step 2. Re-apply PU coating to worn areas. Wearing a respirator, climb into the tent and apply a spray on PU coating (ON THE INSIDE) to only the surfaces that are exposed when the rain fly is on. Usually this is referred to as the "bathtub" and you can see this as the dark gray area on my photos. (Heres the spray I use: https://smile.amazon.com/gp/product/B000M7RRU2). Note: if the entire interior surface is crumbly and peeling away, you may want to just buy a new tent or fly, since removing ALL the old PU coating and reapplying a new coating is going to take so much time and effort it might not be worth it). Apply a little extra around corners and seams (being careful not to spray it on the zippers!). Once the interior tent has dried, pitch the rain fly (inside out) over the tent and follow the same process to spray the interior with the PU spray, and again paying special attention to seams and corners (you'll be spraying over the seam tape you already applied in step 1, but thats OK). Step 3. Apply Nikwax DWR. Once the PU coating has dried completely (including a second coat if you've chosen to do that) you're ready for this product. Pull the rain fly off the tent and from the outside, spray the Nikwax DWR onto the "bathtub" portion of the tent's exterior. (the dark gray in my videos). Use a sponge to smooth and distribute the coating, allowing it to soak into the nylon and create and even coating. While that dries, pitch the rain fly the normal way (make sure the seam grip and PU spray are completely dry and cured!) and follow the same process with the rain fly. Make sure to use a soft sponge and spread the coating everywhere. Once it is dry, you can add a second coat if desired. The results in my video are after a single coat of Nikwax. Note that this entire process WILL add weight to your tent depending on how much material you apply. I have not weighed mine, but for a 2+ tent I'd guess I probably added 6 to 8 oz of weight, which is not insignificant for a 5 lb tent.